HOW TO MAKE A LIGHTBOX
If you’re a budding photographer, a DIY enthusiast looking to take proud photos of your good work, or someone who sells goods online, a light box is a handy tool to have. Good lighting is the key to great photos and a lightbox provides an easy solution to clear, consistent lighting. If you want to take your photography to the next level you’re going to love our latest DIY guide. Watch the video below or follow our step-by-step instructions to make your very own.
Tools and materials required:
- 18V Drill Driver Kit with battery
- 18V Impact Driver
- 18V Circular Saw
- 18V Pendulum Jigsaw
- 18V Detail Sander
- Glue Gun
- 18V Worklights as required
- MDF Sheets 450 x 900 x 16mm 3pieces
- MDF Sheets 450 x 900 x 3mm 2 pieces
- PVA glue
- Scissors and knife
- Primer undercoat paint
- Velcro dots
STEP-BY-STEP INSTRUCTIONS
Mark the midway point of your 3 MDF sheets.
If you’re using a 900mm piece half way will be 450mm.
Use your circular saw to cut the sheets of MDF along your marks.
Use the notch in the base of the circular saw to line up your cut.
Measure the thickness of your MDF, double it and mark a line across that length on one of your MDF sheets.
For the 16mm board suggested that mark will be at 32mm. Cut this length using the straight cut guide of your circular saw.
Cut this length using the straight cut guide of your circular saw.
Put this piece aside for later, it will be used to support the lid of your lightbox.
Assemble the floor, sides, and back of your lightbox and clamp them together so they can stand without your support.
Use 3 identically sized sheets for the floor and sides, and the sheet you cut in step 4 for the back.
Create pilot holes for your screws along your marks.
Because MDF is hard, we recommend using your countersink bit to create marks before you make your pilot holes.
Using your impact driver, drive your screws into the MDF.
Mark 32mm from the top of your lightbox and attach the straight piece of MDF you cut off in step 4.
You will need to countersink, create a pilot hole and use your impact driver to screw the holes in to attach this piece.
Use two hinges to secure the lid piece of your lightbox to the back of the box.
Mark smaller inner squares along the top and sides of your lightbox.
Cut the squares you have just marked out using a jigsaw.
To do this, drill a hole somewhere along the square you’ve marked to allow you to insert the blade of the jigsaw and start the cut.
Take your pieces of 3mm MDF and cut them along the centre to create 450 x 450 squares to match the larger outer squares of your lightbox.
Using the inner squares of your lightbox as a guide, mark out identical matching squares for your 3mm MDF.
Cut along these markings with your jigsaw.
Again, use your drill to create a hole for the blade of your jigsaw.
Using a glue gun, stick crepe or tissue paper to your 3mm MDF filter frames.
White paper is standard and will create a nice, neutral light but you can use coloured paper depending on the effect / lighting your looking for.
Using sticky Velcro tabs, attach your 3mm MDF filter boards to the top and sides of your lightbox.
Spray the inside of your lightbox to match your filter paper.
Use Velcro to stick a piece of white card to the back of your lightbox.
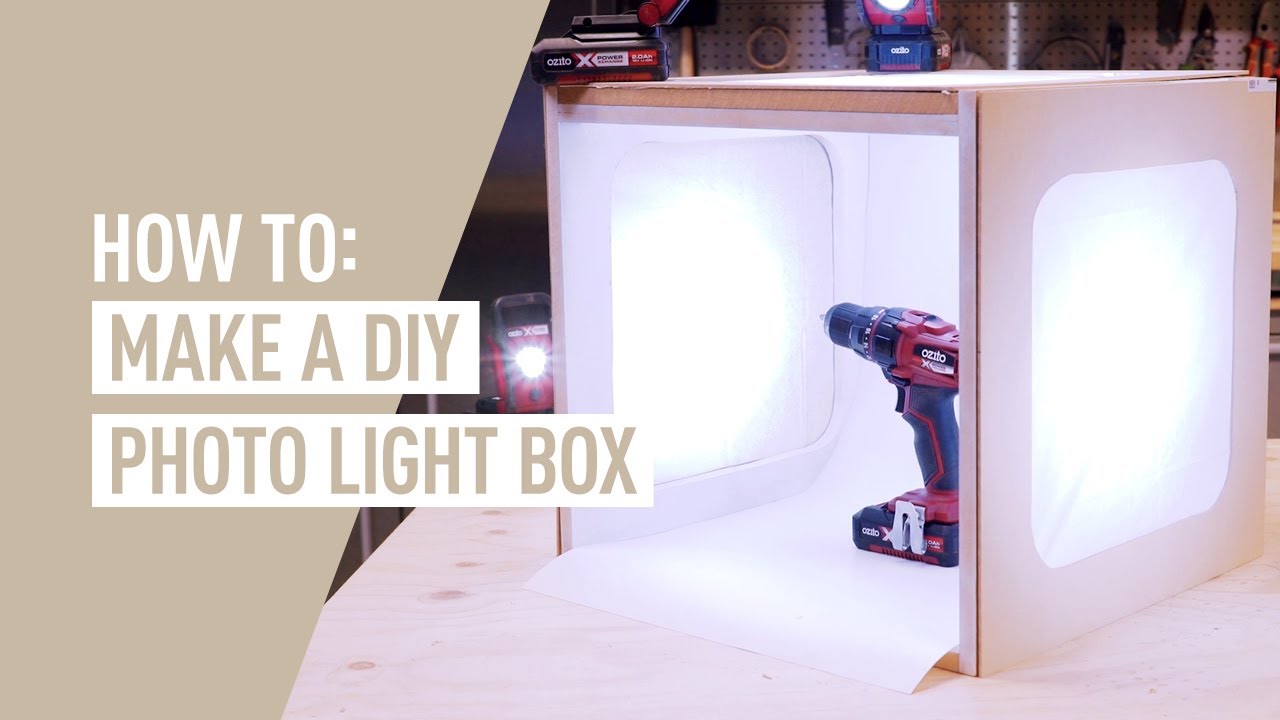
Use LED lights as desired to light up the lightbox.