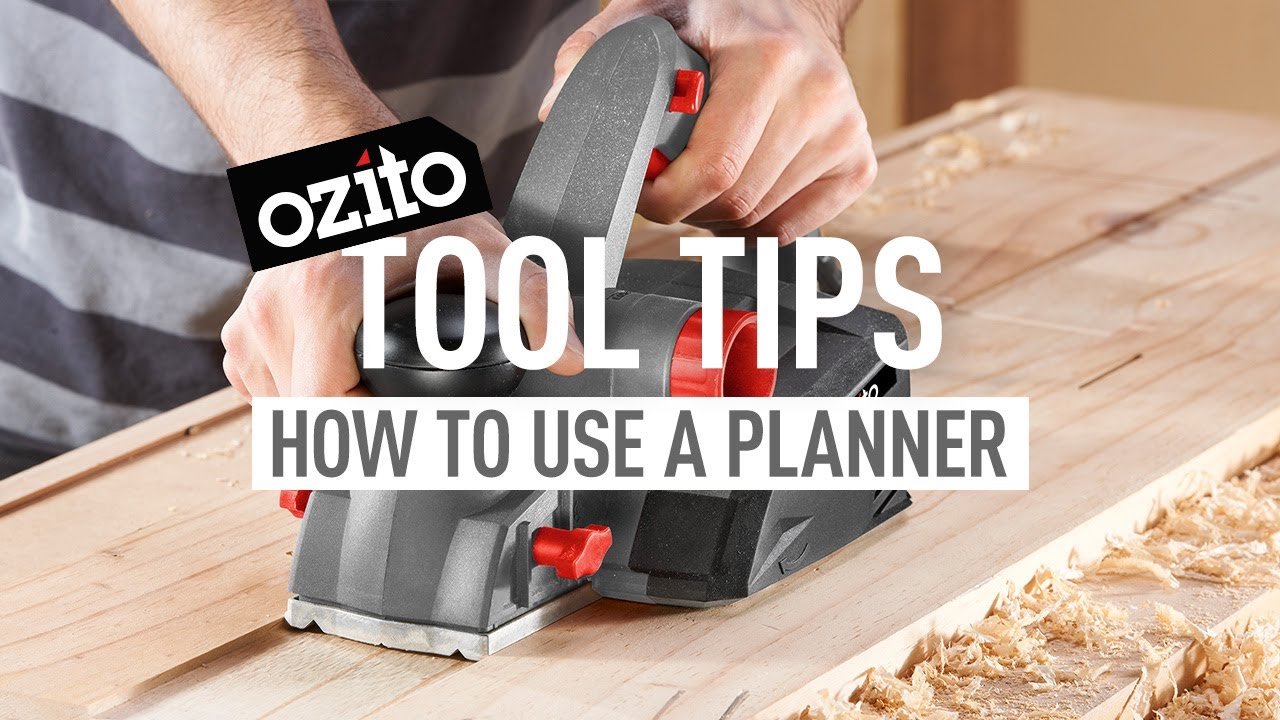
TOOL TIPS: OZITO PLANER BEST PRACTICES
Make sure your product is unplugged before exploring this tool, we don’t want you to end up with fewer digits on your hands than you currently have…
CONVENIENT FEATURES
Check out these custom features that make utilising this tool safe, easy and efficient.
- On the bottom of the planer, you’ll find the planer blade. Handle this with care. The best part about the blade is that it’s reversible. If you find the original blade is getting too dull, you can easily switch the blade – and voila – a brand new blade (remember to unplug, first rule).
- There’s a retractable foot on the bottom back end of the planer. In case you put the Planer down while it’s still spinning, the device will stop itself from cutting into the table or project you’re working on.
- On the bottom front end of the planer, you will find a groove that allows for bevel type planing. You can place the timber in the groove, making it easy to push the planer steadily along. This groove serves as a great guide for any project.
WHILE IN USE
During use, be sure to exercise safety and best practices with each project.
- On all Ozito planers there will be a shoot that filters out excess shavings. Make sure the shoot is pointed away from your body, unless you would like to embrace your inner lumberjack.
- With any project, only take off a little bit of timber at a time to effectively get down to the level you’re after.
- When pushing the planer, ensure your body is in the right position as demonstrated in the video. This will guarantee even, steady strokes with the planer.
- Dust off your planer after use so it’s clean and ready for your next project