HOW TO MAKE A DIY POT PLANT STAND
Do you love indoor plants but don’t want them just sitting on the floor? This DIY pot plant stand is perfect for plant lovers who want to spruce up the look of their plants.
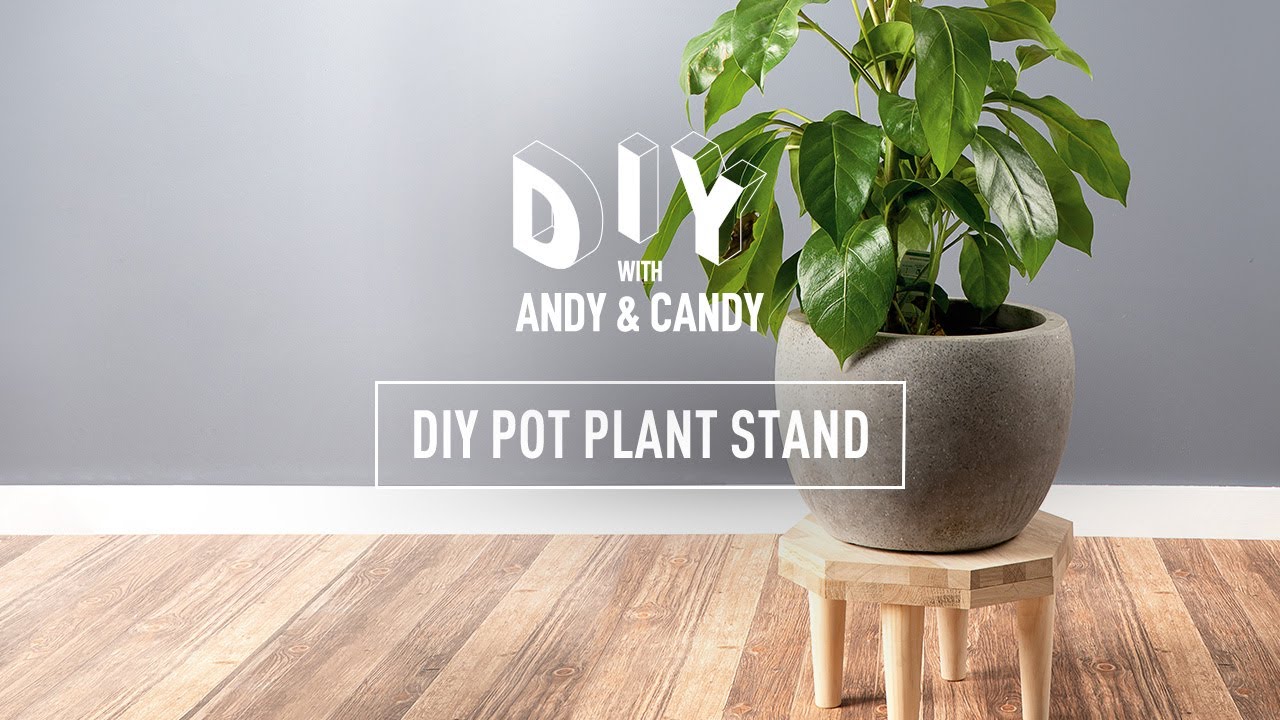
This is a great way to show off your indoor plants and it’s a easy project that you can work on at home. For a unique look, mix and match different plants with pot plant stands of different heights, or customise your pot plant stand with yoru own choice of materials.
MATERIAL YOU WILL NEED:
- Drill Driver, Impact Driver, Circular Saw
- 20-25mm Spade Bit
- 6mm Drill Bit
- Phillips Head Driver Bit
- 6pcs: 30mm Screws
- 45° Set Square
- 1pc: 1200 x 300 x 18mm Timber
- 4pcs: Legs
- 4pcs: Nuts (for fastening legs)
- Pencil
- Safety Gear
INSTRUCTIONS:
- Measure & mark two 300mm squares on the timber work piece. Clamp securely and cut along the lines using a circular saw.
- Draw lines corner to corner to find the center point of one piece. Then measure 150mm from the center and place a mark in each corner.
- Using a 45° set square draw 4 lines running through each of your marks.
- Align both of your square pieces so that your markings are still visible. Clamp down and drive a 30mm screw into opposite corners to hold the pieces together.
- Using a 6mm drill bit, drill 4 holes (100mm from each corner) to a depth of roughly 25mm.
- Using the circular saw cut along the lines to remove the 4 corner sections. Note: the 2 pieces will now be separated.
- Insert the thread of your 4 legs through the timber piece with completely drilled holes and secure with 4 nuts.
- Clamp down the second piece of timber & using a 20-25mm spade bit drill half way through the thickness (9mm depth) in the four positions of the partially drilled holes.
- Align the 2 hexagon pieces so that the nuts go into the drilled holes. Then secure together by driving 4 screws between the legs.